
Snipping Tool is a screen capture tool available with Windows Vista, Linux and Mac. It is used to capture a selected area of the screen and save it in a .png, .jpg, .bmp, .gif, or .txt format. It is useful for creating screenshots of anything displayed on the computer screen. The following are some of the features of the screenshot:
- You can press the Print Screen key on your keyboard to take a screenshot of an open window or to capture a section of the screen.
- You can use the Delay option to capture a timed screen Snipping Tools. You can take a screenshot of a portion of the screen by dragging the cursor over what you want to capture.
- You can also drag a rectangle on the screen to select an area for a screenshot & video. After you have taken a image, you can annotate it and save it to the Chromebook, as well as send the screenshot as an e-mail message.
The Snipping Tool for Microsoft Windows 10, 8, 7 is quite simple to use. It doesn't require a lot of technical know-how.
How to Use Snipping Tool: Hotkey, Command
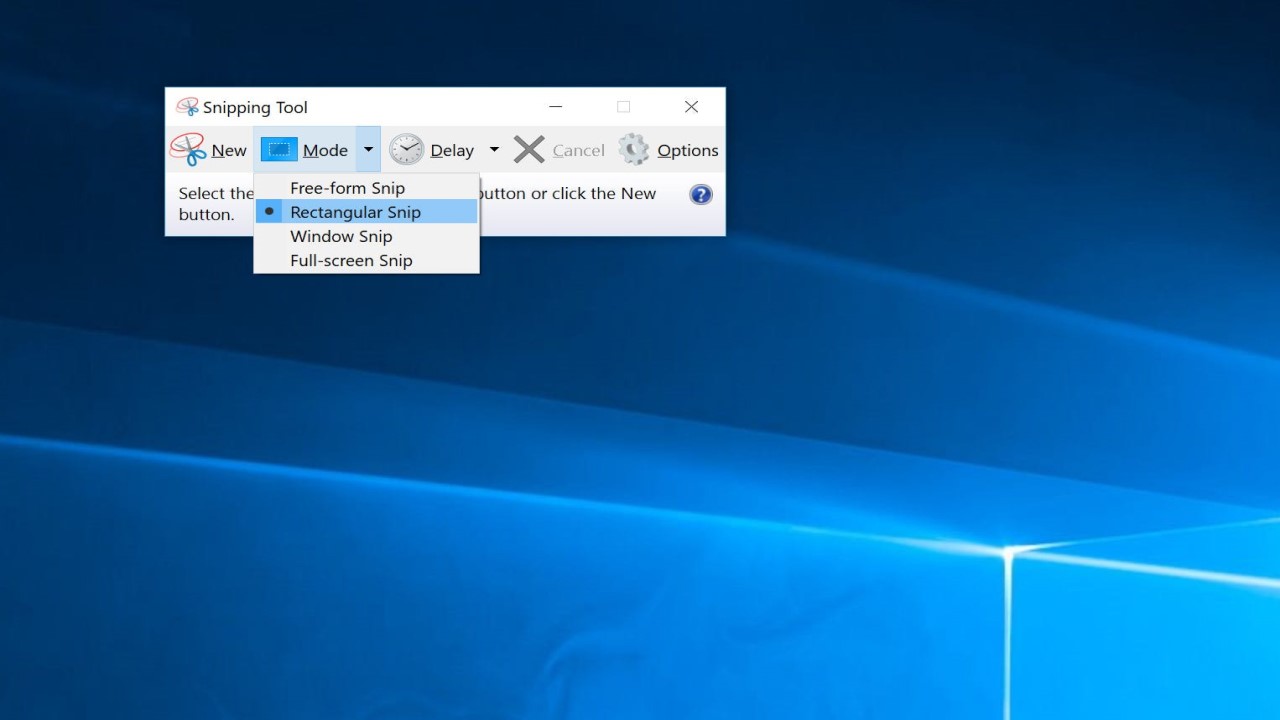
To capture a screenshot of the full screen, click on the New button on the Snipping Tool online window and select Full-screen Snip from the drop-down menu. You can then drag the cursor to select the area of the screen that you want to capture. To capture a screenshot of a rectangular region, click on the New button on the Snipping Tool for free window and select Rectangular Snip from the drop-down menu.
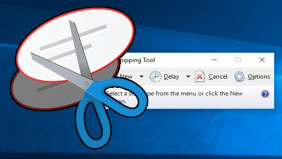
Snipping Tool Features
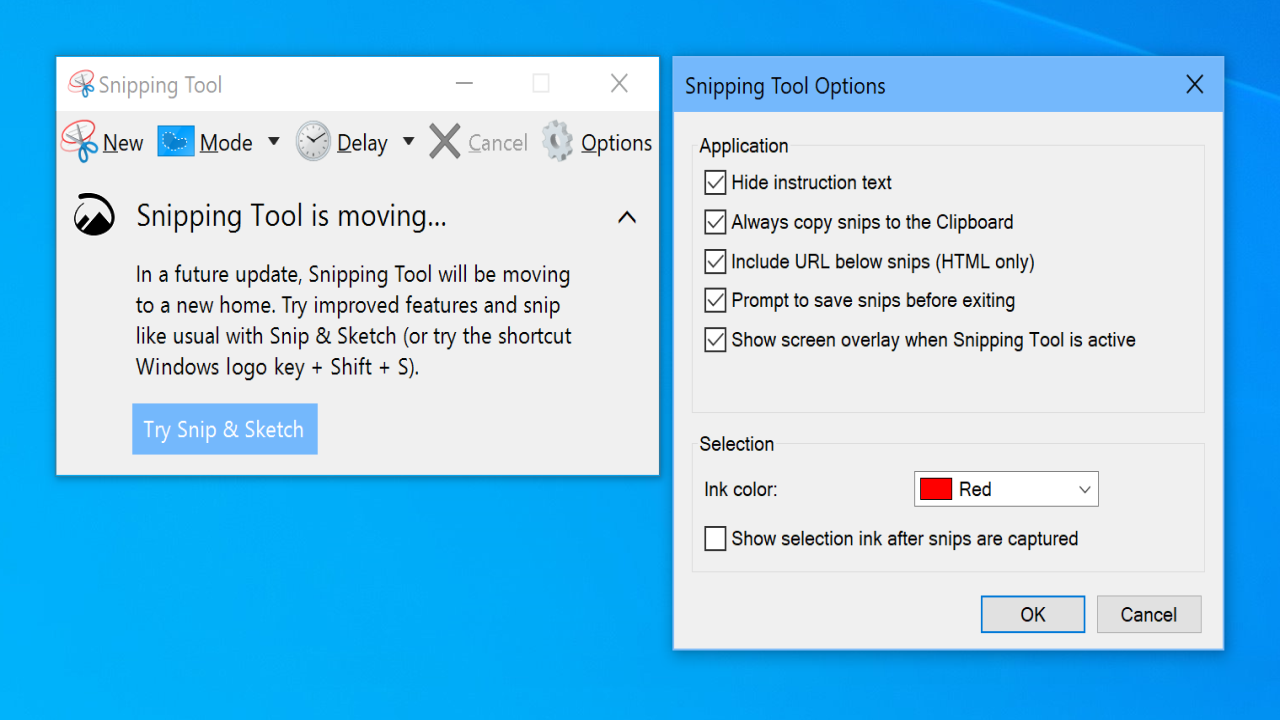
You can copy the image to the clipboard, save it to a file, send it as an email, share it with someone, or even print it! To use the Snipping Tool software, click the. Also you can select the screen area you want, and then click on the new icon to create a new picture. You will see a preview of the picture. You can move your cursor on the black border line and drag it to select a different area. When you are done, you can click on the save it. You can also click on the copy button it to the clipboard. You can also click on the set as window button to select a window. This allows you to select the window you want to capture. You can also click on the freeze window button to freeze the selected window.
Snipping Tool for Mac: Download and Instal
With Snipping Tool Mac you can taking screenshots you can use the menu bar, keyboard shortcuts, or a combination of these.The simplest way to capture a screenshot is by using the “Grab” app. This is the OS X equivalent of the best Snipping Tool shortcut Windows 10. To use Grab, just open it and select the “Capture” tab. If you want to capture a specific portion of the screen, you can select the specific region to capture. To do that, click the “Capture” button to select the screenshot type, then click and drag the cursor to select the area to capture. Click the “Capture” button when you’re done.
Popular Questions About Snipping Tool:
- Can I take a screenshot of the entire screen with Snipping Tool PC?
Yes, you can by pressing PrtScn key.
- How do I paste a screenshot into a document PDF with a Snipping Tool?
Press Ctrl+V keys to do it.
- How do I take a screenshot of a selected area?
Press Alt+PrtScn keys to take image of selected area.
- Where do I find the Snipping Tool on my dell computer?
It is located in Start > All Programs > Accessories section.
- When I'm in Snipping Tool free Windows 10, I can't change the colors of the snip?
Press F2 keys to change the color of the snip.
- What is the easiest way to take a screenshot of the entire desktop?
Use the best Snipping Tool or any free screen capture tool.
 How to Use Snipping Tool (Beginners Guide)
 How To Use Snipping Tool In Windows 10 [Tutorial]
 The Snipping Tool - Windows Screenshots Tutorial
 10 Great Facts You Might Not Know
 Best Alternatives to Try